Important!
When Case Manager is installed at your agency, this module becomes the starting place for consumers and users. If you have been using Client Payroll Manager or Case Records Manager, you will no longer use Vertex Rehab Management to create new user profiles; you’ll create them in Case Manager.
Creating the Case Manager (CM) user account automatically creates the user account that is used by Client Payroll Manager, Service Billing Manager and Vocational Time Manager/Touch (tablet-based data entry tool for vocational time). Setting up the user in these modules are explained in separate articles.
Once entered into VERTEX CASE MANAGER, the User Name will automatically be created in Client Payroll Manager where you activate the user account by assigning a password. DO NOT add the user to Client Payroll Manager as you might have before you began working with CASE MANAGER.
Step-By-Step Guide
To set up a new user, the user must first be entered in your network’s Active Directory.
If you are a VCloud client, please email Vertex Professional Services at support@vertexsystems.com including the user details of First/Last Name, the preferred User ID and Password. Vertex engineers will create the VCloud account for you and respond via email that the account has been created. You are then responsible for setting up access to the individual applications as described in this article.
You must have already configured your Case Manager (CM) Security Roles which indicate the level of access that you will offer by role in your organization. This will control what the user can and cannot see in the solution. The Security Roles of Administrator and a generic CM user are already configured for your use.
You must have administrator permissions to add a new user. Here are the steps that need to be completed, in this specific order, to add a new user. Each of these steps is defined in detail following the list:
Add the Person to CM.
Configure the User in CM.
Assign Provider to Hierarchy Node.
Assign Services to
Assign Caseload to
Adding a Person in Case Manager
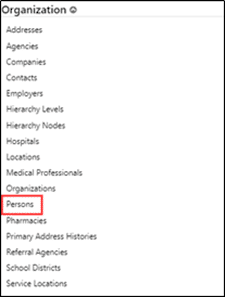
To access the Person entry screen, from the Menu select Admin | Intuition | Organization | Person.
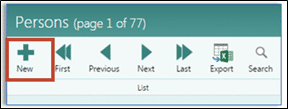
When the list of Persons appears, select +New on the top left corner of the page.
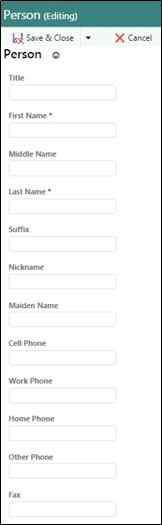
Enter the demographic information of the person that you are creating. Required fields are indicated with a red asterisk and must be completed before the person’s record can be saved.
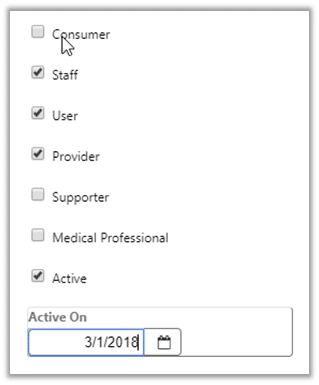
Scroll toward the bottom of the list to the series of check boxes. Scroll to the bottom where you will see a series of checkboxes. Select Staff, User, Provider, Active On and enter an Active On Date.
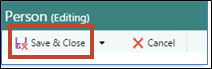
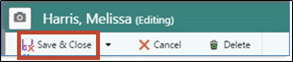
When you have completed the information, click Save & Close at the top of the page.
Configure the User in Case Manager
When you’ve created the Person record, you can then setup the User, assign the user to a security access group, and attach the account to Active Directory.
To access the User entry screen, from the Menu select Admin | Intuition | Security | User.
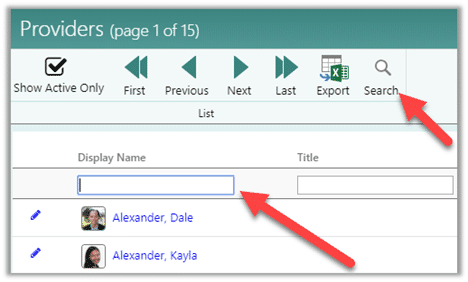
Click Search on the button bar at the top of the page.
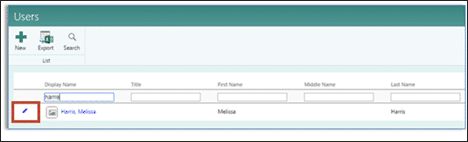
Enter the name of the Person that you just entered into the system and click on the edit pencil to the left of his or her name.
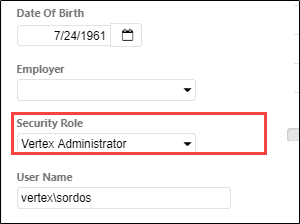
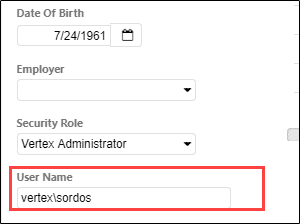
When the record displays, you will be able to see the demographic information you entered on the Person page. As you scroll to the bottom of the page, navigate to the field labeled Security Role. Here you will select the appropriate role this person has in the organization to control what the user can see and do inside the solution. Click the down arrow to see the list of available options.
Directly below Security Role is the field User Name that connects the Vertex Case Manager user to your Active Directory. You must start the user name with the name of your domain followed by a backslash. If you are a VCloud customer, you will begin the box with vtxcloud followed by the user’s name exactly as it is in Active Directory. If you enter it incorrectly or the person is not yet in Active Directory, you will not be able to save the record. The message will reflect that the person does not exist.
Click Save and Close at the top left and you have successfully completed the setup of a new Person and a new User.
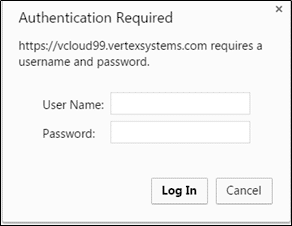
When the User logs into the CM session, the user will need to enter the domainusername and the password exactly as it is in Active Directory to gain access.
Assign Services to Provider
Each service provider will need to be assigned to the services he or she can deliver.
From the Menu, select Admin | Intuition | Staff | Providers. Click Search and type at least part of the name of the person just added in the box labeled Display Name.
Click the pencil to the left of the provider.
Scroll down to the section named Service Providers.
Click +(Add).
Using the Service drop-down arrow, select the first service the provider works in.
If there are multiple services, select Save & New from the toolbar. If this is the only service for the provider, select Save and Close.
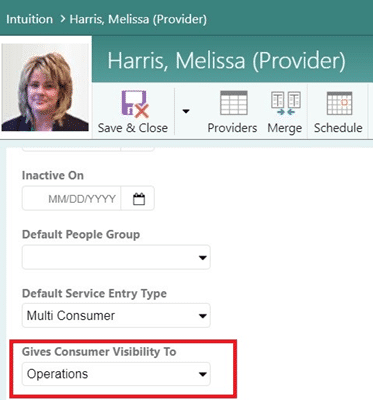
Assign Provider to Hierarchy Node
Providers “Give” visibility to a node for documentation review.
From the Menu, select Admin | Intuition | Staff | Providers.
Use the Provider Gives Consumer Visibility To field to display the group that reviews or approves this provider’s documentation records.
NOTE
A staff member who is also a provider must both Give and Get permissions on a Node to be able to see his or her own records. This setup is accessed from Admin | Intuition | Staff |.
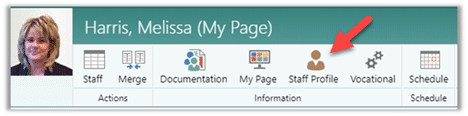
Click Staff Profile and in the “Staff Gets Consumer Visibility” field, select the appropriate group for this staff member
Assign Caseload
Once a provider is listed in a Consumer’s Life Plan Support Network, that Consumer’s Card displays on the provider’s My Page.
From the menu, select Consumers.
Click the pencil to the left of the first consumer that should appear in this provider’s caseload.
Click Life Plan.
Scroll to Life Plan Support Network and Click + (Add).
Using the Person drop-down, select the provider and Role that person fulfills for the consumer.
Complete other optional information as required.
Lorem ipsum dolor sit amet, consectetur adipiscing elit. Ut elit tellus, luctus nec\ ullamcorper mattis, pulvinar dapibus leo.