The Periodic Summary allows you to review all information for the person served and easily create a summary of the services delivered.
Periodic Summaries are categorized and scheduled based on pre-defined periods such as month, quarter, and annual. Vertex Case Manager displays when reviews are approaching and/or are tardy in their execution.
Once your summary is created you can create a final report and the system will automatically store the finalized version of the review that can be printed at any time.
Create Summary Types
InfoThis first section explains how to set up Summary Types, which is normally done by a user with Administrator access. It is likely that your summary types have already been created and if so, you can skip down to the next section, Periodic Summary-Review Scheduling.
Summary Types are the varieties of reviews you complete. Common summary types are Monthly, Quarterly, and Annual.
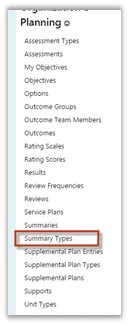
- From the Menu, select Admin | Intuition | Planning | Summary Types
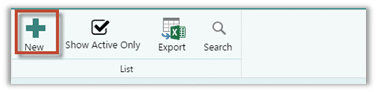
- Click the + (New) button.
-
Enter the Name (Monthly Summary, Annual Review, etc.) and the Description of the Review Type (Occurs Each Calendar Month for Community Living, etc.)
- Select the Frequency (Annual, Bi-Month, Bi-Week, Day, Month, Quarter, Semi-Annual or Week). This will determine the frequency of scheduling based upon the start date entered in the next step.
- Enter a Start Date of when you began requiring this type of summary. It’s OK to enter an approximate date but the date will need to be on or before the date you’ll want to complete your first consumer summary in Case Management.
- You may enter a Stop Date if you wish or you may leave it blank if the Review Type is ongoing. A Grace Period may also be entered which will give you that number of days before escalating to a Past Due notification.
- Select a Document Type (CMS Monthly Summary, PAC Weekly Summary, etc.…). The most common types are available.
- Use the Active checkbox to inactivate a review type you will no longer use.


When consumers are enrolled in multiple services, and you need to complete a separate summary for each of the services, then you will want to create a separate review type for each service. For example, if you have consumers who receive both Day Services and Pre-vocational Services, and the consumer require different summaries for each, you’ll create a review type for Monthly – Day Services and another for Monthly Pre-vocational.
Periodic Summary—Review Scheduling
Consumer progress reviews may be scheduled in advance for each Consumer. You will not be able to complete a consumer summary until the summary type(s) has been assigned to the consumer.
For each Consumer:
- From the Consumer’s page, select Life Plan.
-
Scroll to the Summaries section
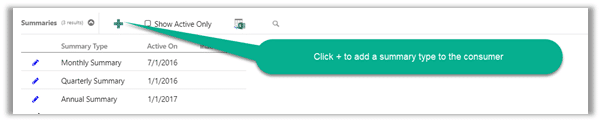

3. Select the Summary Type and enter the date of the first instance you will complete this review.

4. If there are more than one type of summary you’ll need to complete for the consumer, click
the drop-down to the right of Save & Close and select Save & New. If this this is only summary, click Save & Close.
Periodic Summary—Conducting the Review Process
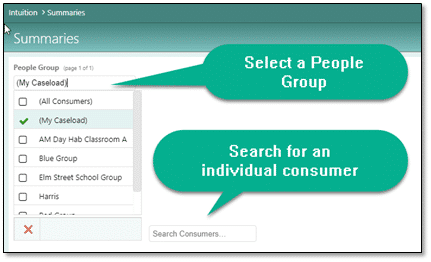
- From the Menu, Select Summaries.
- A listing of Consumers who have been configured for summaries will display. The persons you’ll see listed are the people whose teams you are on. You can change to another people group if necessary. In the example below, there is just one Consumer who has a summary configured, you will have more names. Or, use Search Consumers to find a specific consumer.
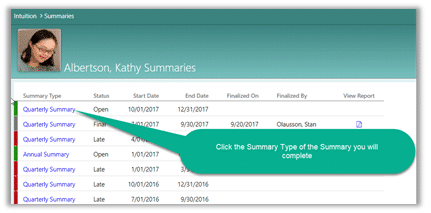
- Once the Consumer is identified, click his or her name and all scheduled summaries for that person will display. Click the summary with which you wish to work.
- A screen displays with the Consumer’s Service, Progress, Case Notes, and Incidents for review.
- Note the red boxes in the image below: these options let you display which services and/or objectives will be a part of the review and to see the actual service records and progress records that were entered for the date range as specified by the summary. Be sure to carefully select and review the options to be certain you are seeing and will include what is required for the review.
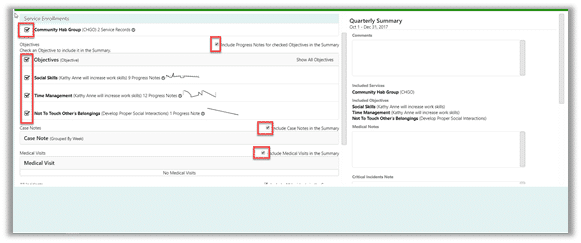
- Expand or minimize Services, and and/or Progress by clicking on the Show All or Expand icons

- The status bar at the top of the summary will help you easily identify what the status of the review is based upon its scheduled date and the Grace Period configured. Green is Open, Yellow is Draft, Red indicates that you are Late and Gray displays after it is Final.

- The right side of the page is for you to enter your summary information. Areas to complete are:
- Comments
- Medical Notes
- Critical Incident Notes
- Other Health and Safety Issue Notes
- Are there any health-related trends?
- Were there any critical incident reports?

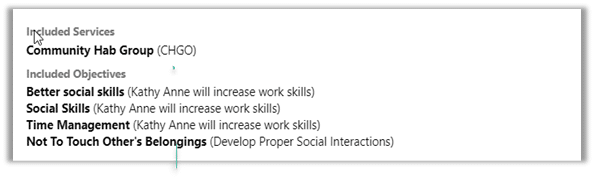
- You’ll also see a listing of which services and objectives you’ve selected to be included on the report.
-
You can save the summary and come back to it later to complete it by clicking on the Save button. The Save as Final button only appears when the summary has been saved at least once.
NOTE: Once Save as Final has been selected, the summary cannot be edited.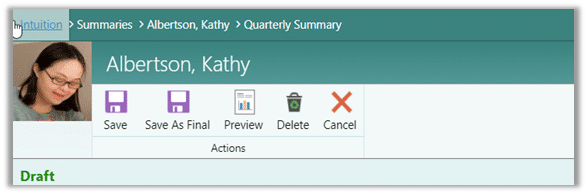
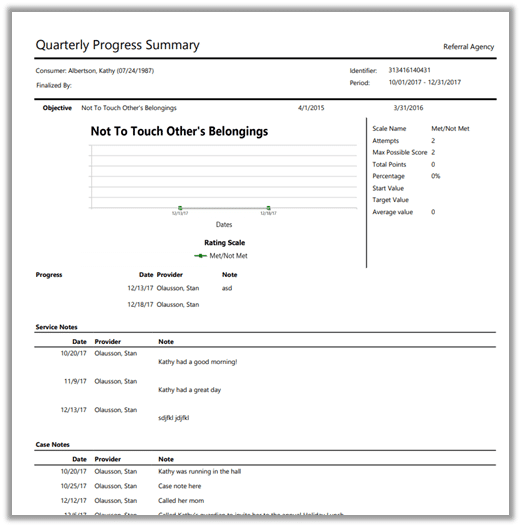
- Click Preview to see a version of the Periodic Summary Report which will be created once you finalize the document. The report icon displays in the lower-left corner of your screen.
-
Your report will look something like this: