
All care should be taken before signing and approving records, mistakes do happen and following is the process for correcting the records. Following these steps creates an audit trail to track changes. There are a few limitations on when records cannot be edited and those are outlined in the following steps.
Records that are in a billing batch need to first have the batch deleted before you can edit the record.
Records that have been billed cannot be changed until the invoice is voided in service billing. You’ll then be able to update the record in Case Management using the above steps.
- Select Documentation from the Menu.
-
Use the filters to find the client and date you need to correct.
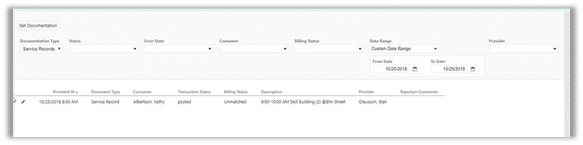
- Select the pencil to the left of the record.
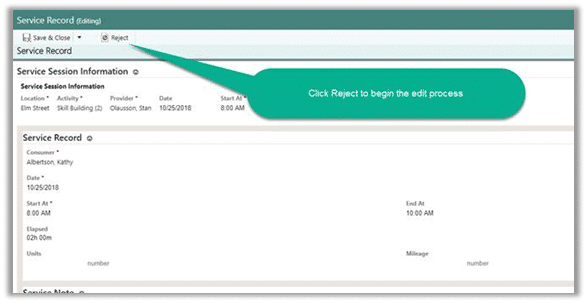
- Select Reject to release the record for editing.
-
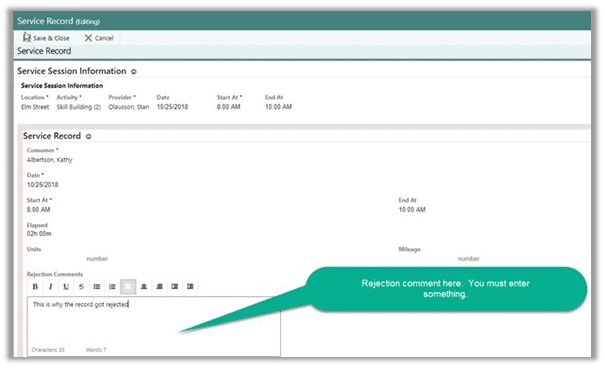
Enter a mandatory note as to why the record is being rejected. Click Save & Close when finished.
- Click the pencil to the left of the item to reopen the record.
-
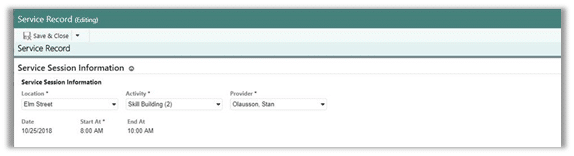
You can only edit the information in and below the red box below at this point.
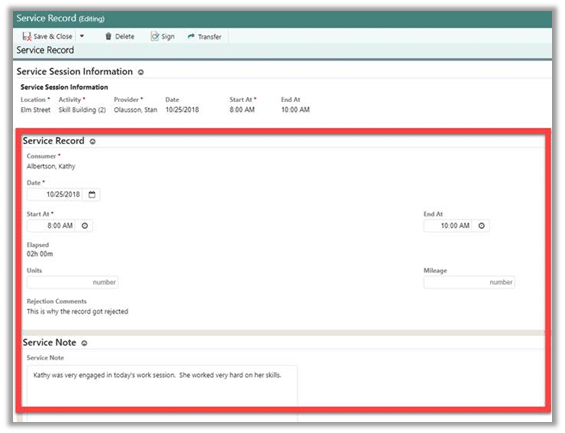
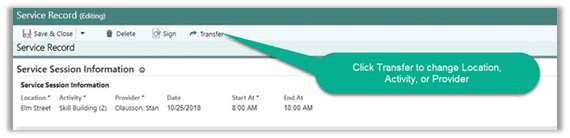
- If you need to change the Location, Activity, or Provider, which is the top section of the Service Record page, once the record is rejected, you will need to Transfer the record.
- Change the Location, Activity and/or Provider and click Save & Close.
- When all the changes have been made, click the pencil to the left of the record and click Sign and/or Approve. The record will have replicated to billing manager in about one minute.


