Client Payroll Manager – Installing Client on Workstation
-
On the Workstation, map drive to Vertex Rehab Management folder
- Open Vertex Rehab Management folder | Bin | Right click vertexmenu.exe | Send to Desktop (create shortcut) | close Vertex Rehab Management folder
-
Double click the VertexMenu shortcut that is on your desktop
-
The Vertex System application will open
-
Click Tools
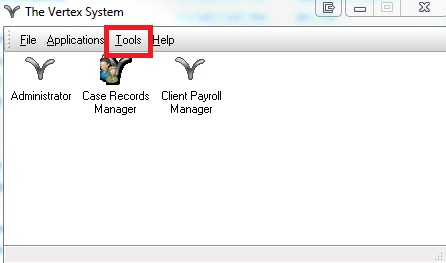
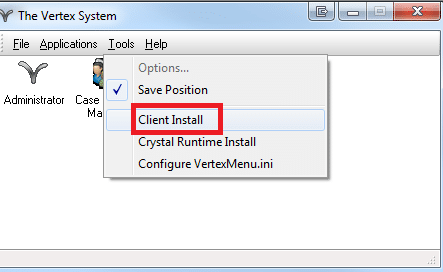
- Choose Client Install
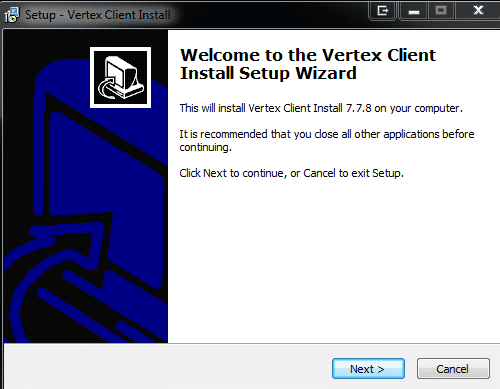
- The Vertex Client Install Setup Wizard will appear | Click Next
-
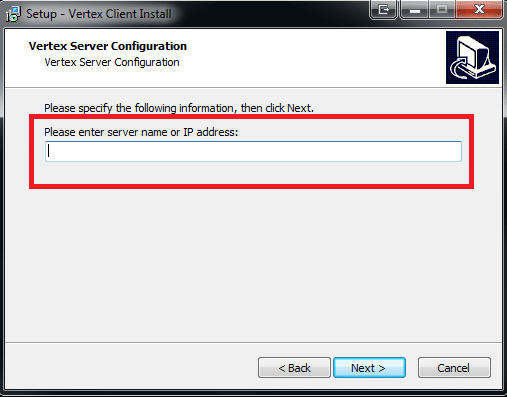
When the install is running it will ask for the server name – this should be the server name of the server where the database is residing.
-
Enter the name or IP address of the Server where Rehab Management is installed | once entered click Next **If this is not correct the application will not run properly**
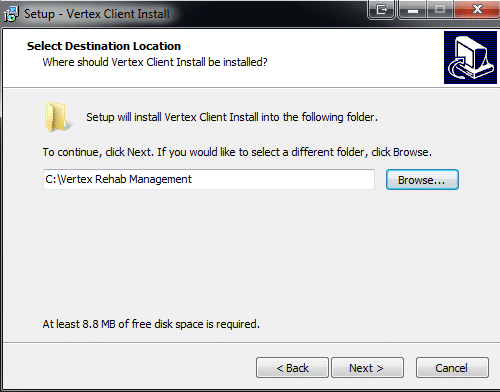
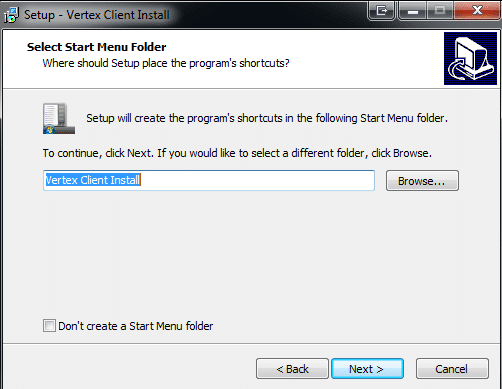
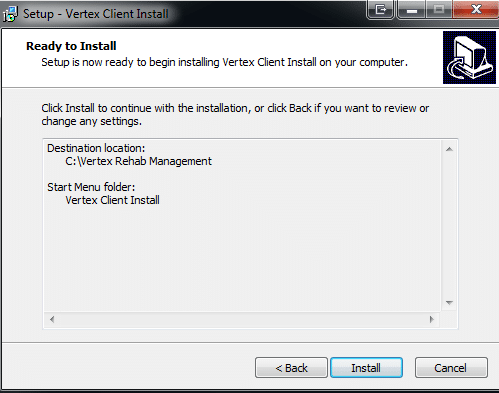
-
- When the Select Setup Language appears | Click OK (English is the default)
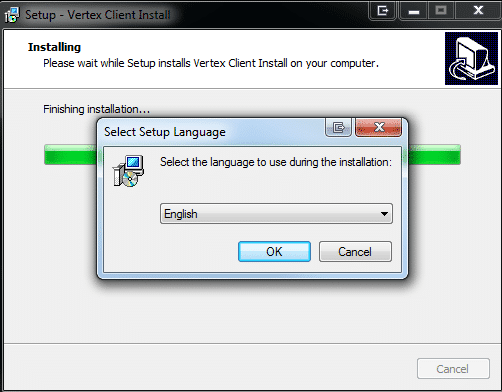
-
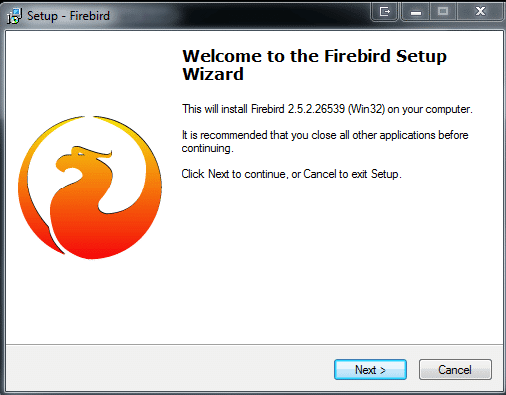
The Welcome to the Firebird Setup Wizard will appear| Click Next
-
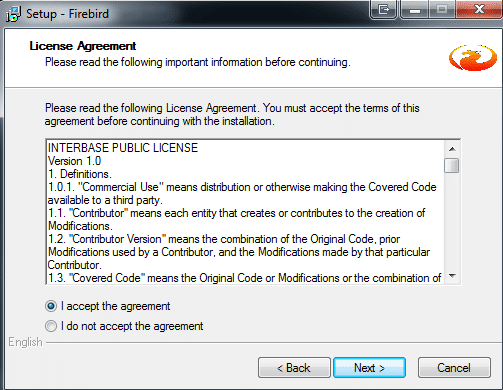
Accept the agreement | Click Next
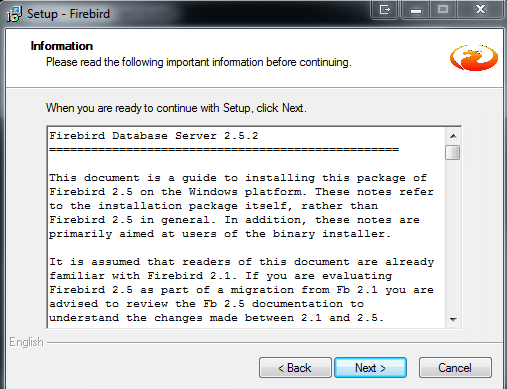
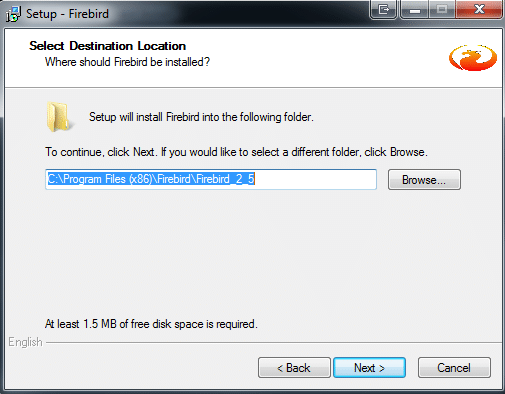
- Leave all the selected components at the default | Click Next
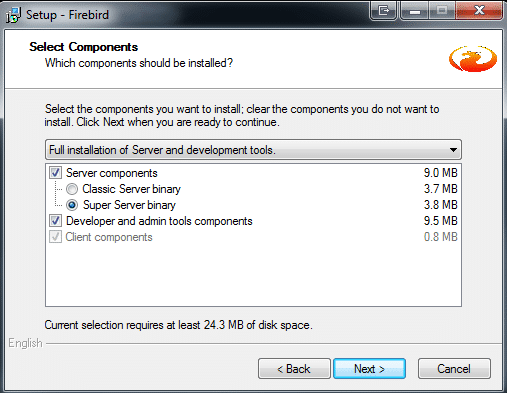
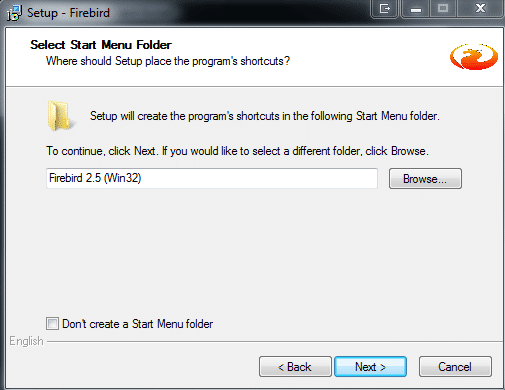
-
Changes need to be made on the next window. Uncheck the following options:
-Use the Guardian to control the server -Generate client library as GDS32.DLL for legacy app. Support? Click next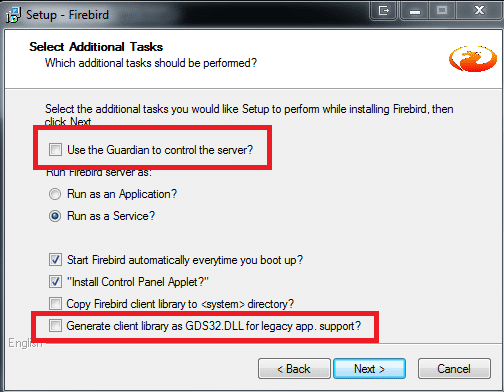
- Click Install
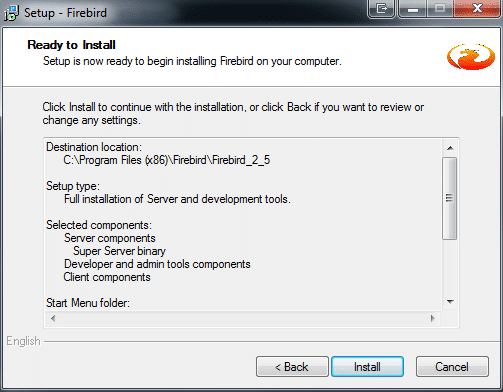
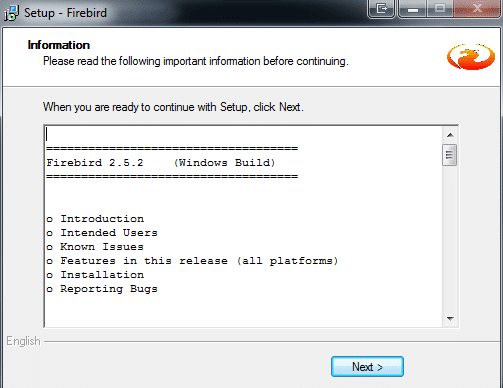
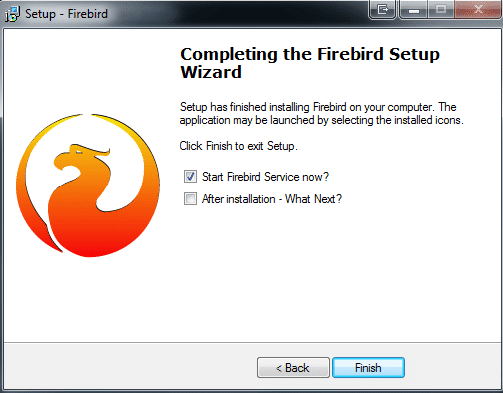
- Uncheck After installation – What Next? | Click Finish
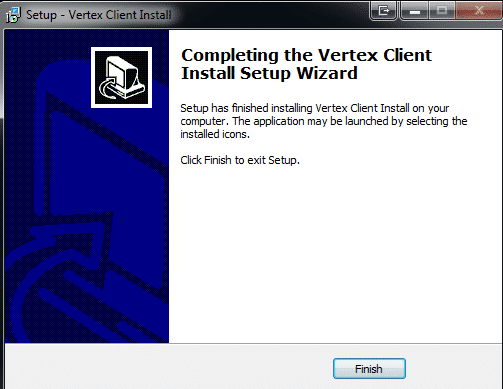
-
Double click on the VertexMenu shortcut that is on your desktop
-
The Vertex System application will open | Click on Tools
- Choose Crystal Runtime Install | Follow the prompts
- Choose Client Install

